
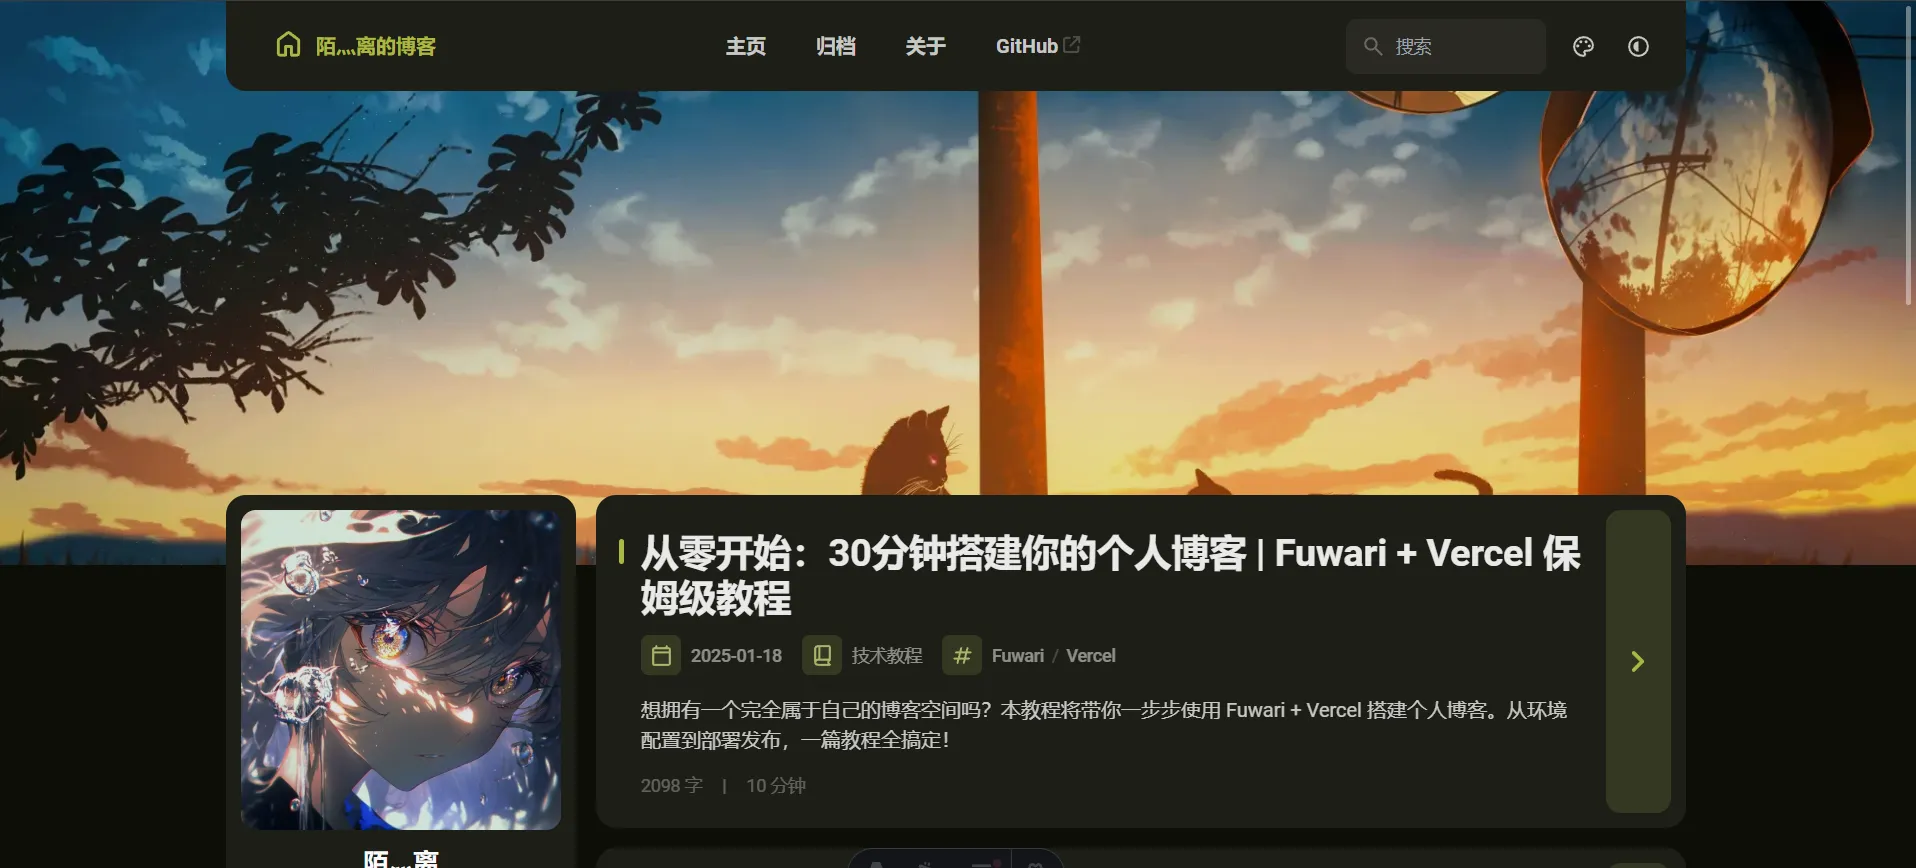
Fuwari+Vercel博客搭建教程
搭建前准备
在开始搭建博客之前,我们需要准备以下工具和环境:
-
基本思维能力:遇到问题时,建议按照以下顺序解决h:\代码\fuwari博客\fuwari-moli721\src\content\spec\about.md$0:
- 先自己思考分析问题
- 善用搜索引擎(Google、必应等)
- 尝试询问 AI 助手(ChatGPT、Claude 等)
- 实在解决不了再去论坛或社区提问
-
Git:版本控制工具,用于管理代码和与 GitHub 交互
- 下载地址:Git 官网
- 新手也可以选择使用图形界面的 GitHub Desktop,但个人建议还是学习使用命令行,长远来看更实用
-
Node.js:JavaScript 运行环境
- 下载地址:Node.js 官网
- Fuwari 是基于 Node.js 开发的,所以这是必需品
- 建议选择 LTS(长期支持)版本
-
GitHub 账号:
- 用于存储博客源代码
- 也方便进行版本管理和多设备同步
-
Vercel 账号:
- 用于部署和托管博客
- 提供免费的静态网站托管服务
- 可以直接用 GitHub 账号登录
-
Markdown 编辑器:推荐使用 YankNote
- 界面清爽,功能强大
- 支持实时预览
- 功能丰富,支持代码高亮、数学公式、流程图、思维导图等
- 当然你也可以选择其他编辑器,如 Typora、VS Code 等
-
Markdown 基础知识:
- Markdown 是一种轻量级标记语言
- 用于编写结构化文档
- 语法简单易学
- 可以参考 Markdown 官方教程 快速入门
有了这些准备,我们就可以开始搭建属于自己的博客了!
开始搭建
-
打开Fuwari,点击右上角的
fork,然后点击Create fork,将Fuwari项目fork到自己的GitHub账号下 -
在本地选择一个文件夹,使用Git,输入以下命令:
git clone https://github.com/你的GitHub账号/fuwari.git- 进入项目目录,首先,全局安装pnpm:
npm install -g pnpm(如果npm国内拉取过慢,请尝试cnpm:npm install -g cnpm),然后安装依赖,输入以下命令:
pnpm installpnpm add sharp- 安装完成后,输入以下命令:
pnpm dev- 在浏览器中打开
http://localhost:4321,就可以看到博客的预览页面了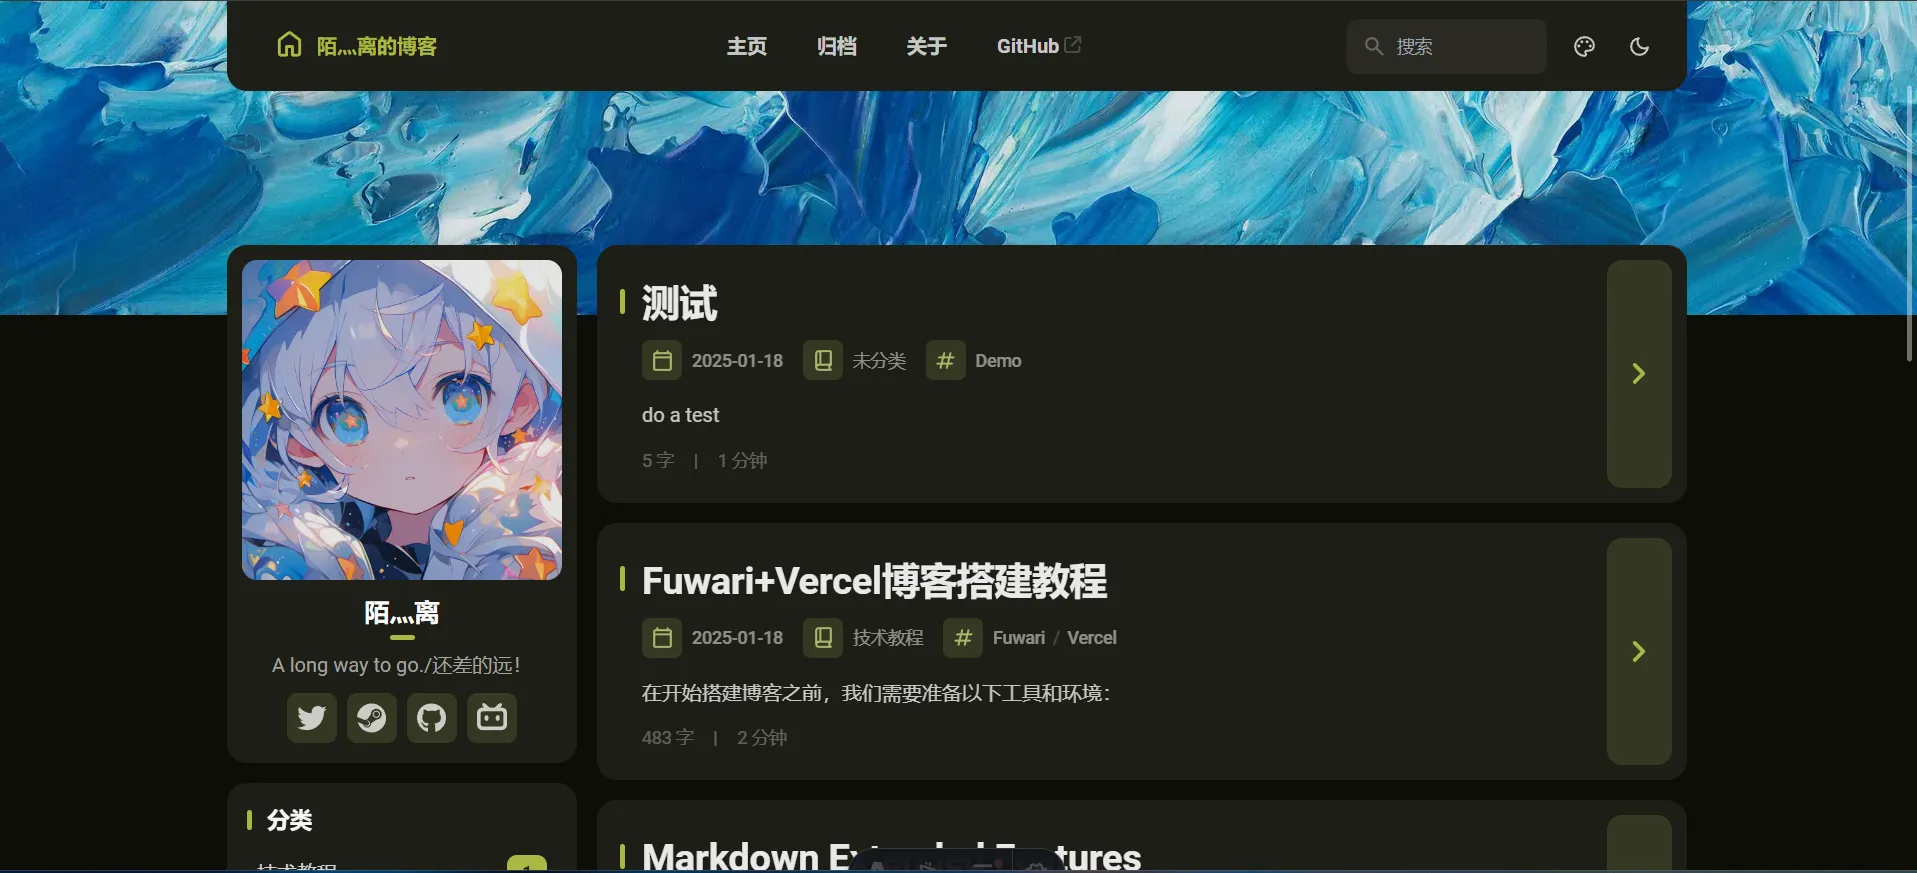
到这里,博客就已经搭建完成了,接下来,我们需要配置博客
基础配置修改
首先,我们需要打开 src/config.ts 文件来个性化你的博客。这个文件包含了博客的核心配置信息:
基本信息设置
-
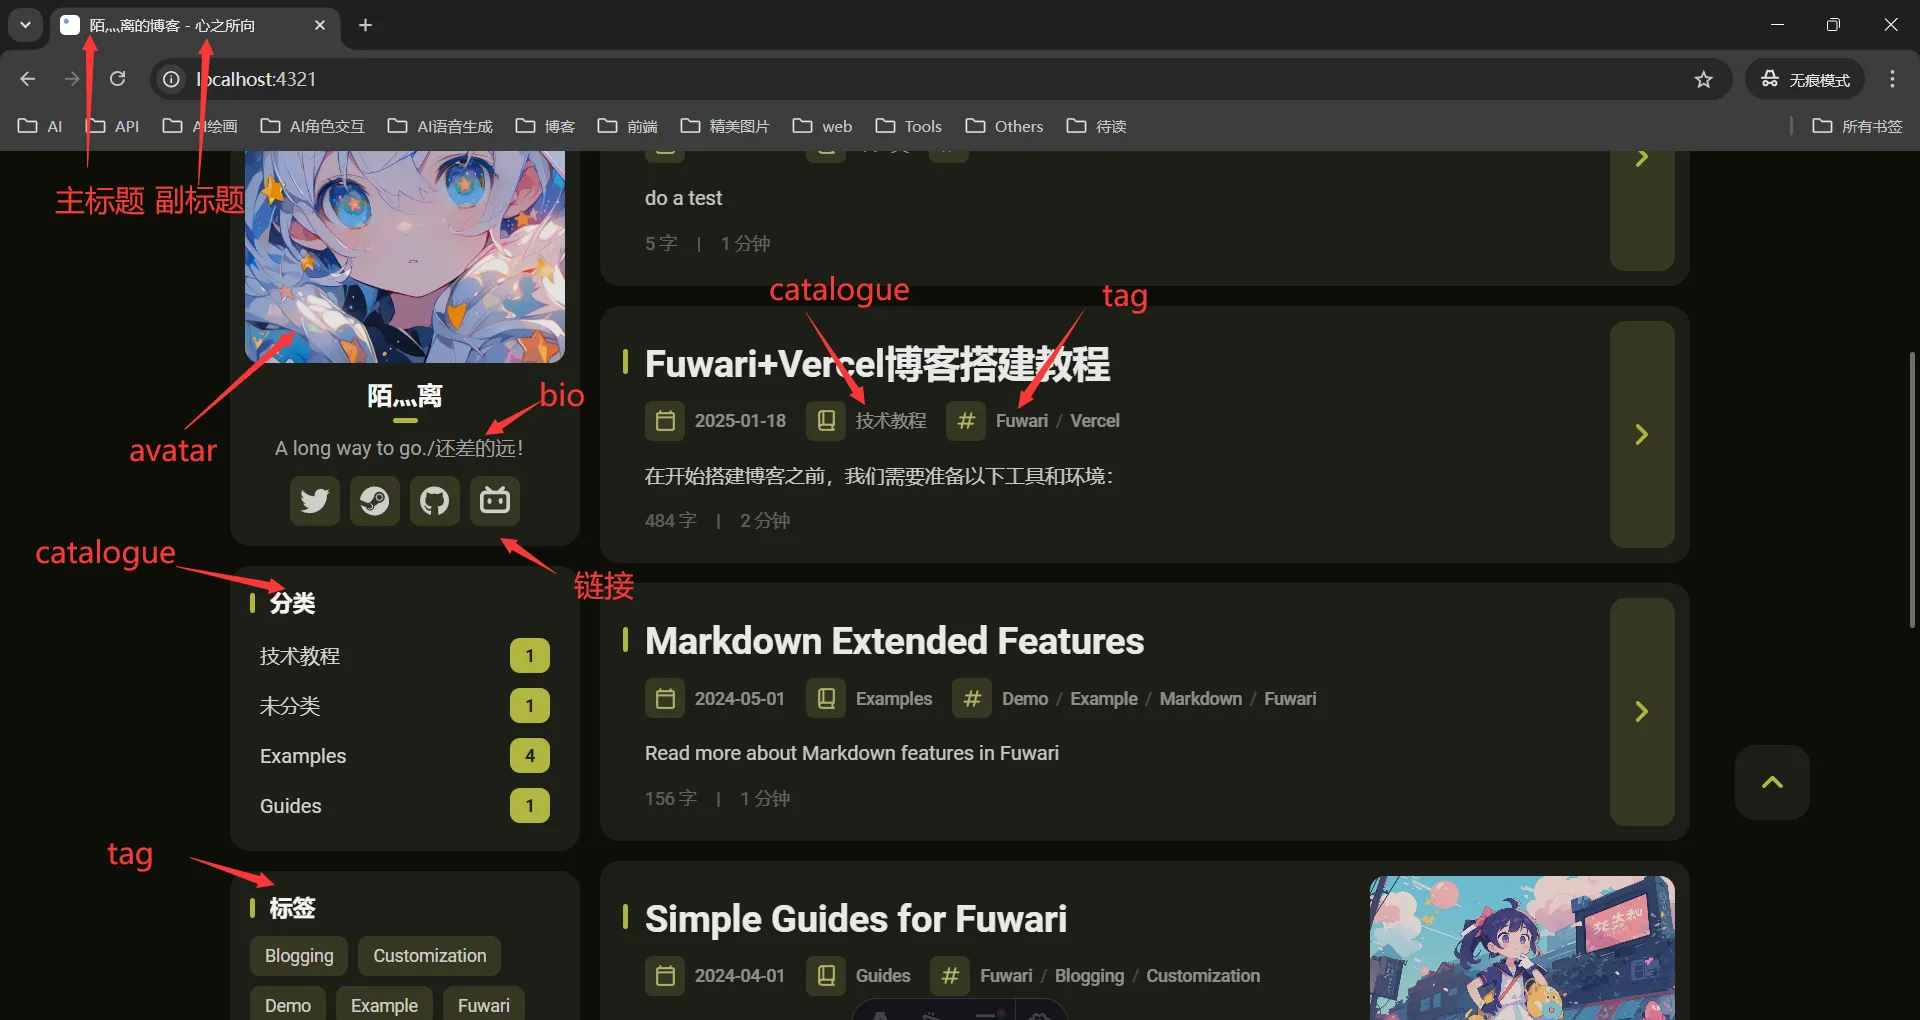
博客标题设置
title:设置你的博客主标题subtitle:设置博客副标题(可选)。这两个会在首页组合显示为”主标题 - 副标题”的形式
-
界面设置
lang:设置博客的显示语言- 支持的语言包括:英文(en)、简体中文(zh_CN)、繁体中文(zh_TW)、日语(ja)、韩语(ko)等
themeColor:设置博客的主题色- 你可以点击博客右上角的调色板图标,选择喜欢的颜色,然后填写对应的数值
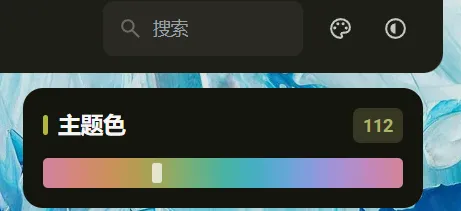
- 你可以点击博客右上角的调色板图标,选择喜欢的颜色,然后填写对应的数值
图片和链接配置
-
网站装饰
banner.src:设置网站顶部的横幅图片(支持 http/https 链接)favicon.src:设置网站图标,就是浏览器标签页显示的小图标(支持 http/https 链接)links:设置导航栏上的友情链接
-
个人信息
avatar:设置你的头像name:填写你的名字bio:设置个性签名,会显示在头像和名字的下方
导航栏和社交链接
网站有两个主要的链接区域:
NavBarConfig:配置导航栏的链接ProfileConfig:配置个人资料区域的社交媒体链接
图标设置
Fuwari 内置了多种图标库支持:fa6-brands、fa6-regular、fa6-solid 和 material-symbols。
设置图标的步骤:
- 访问 Iconify 网站
- 搜索你想要的图标(比如 “bilibili”)
- 复制图标的完整名称(如
fa6-brands:bilibili) - 粘贴到配置文件的
icon字段中
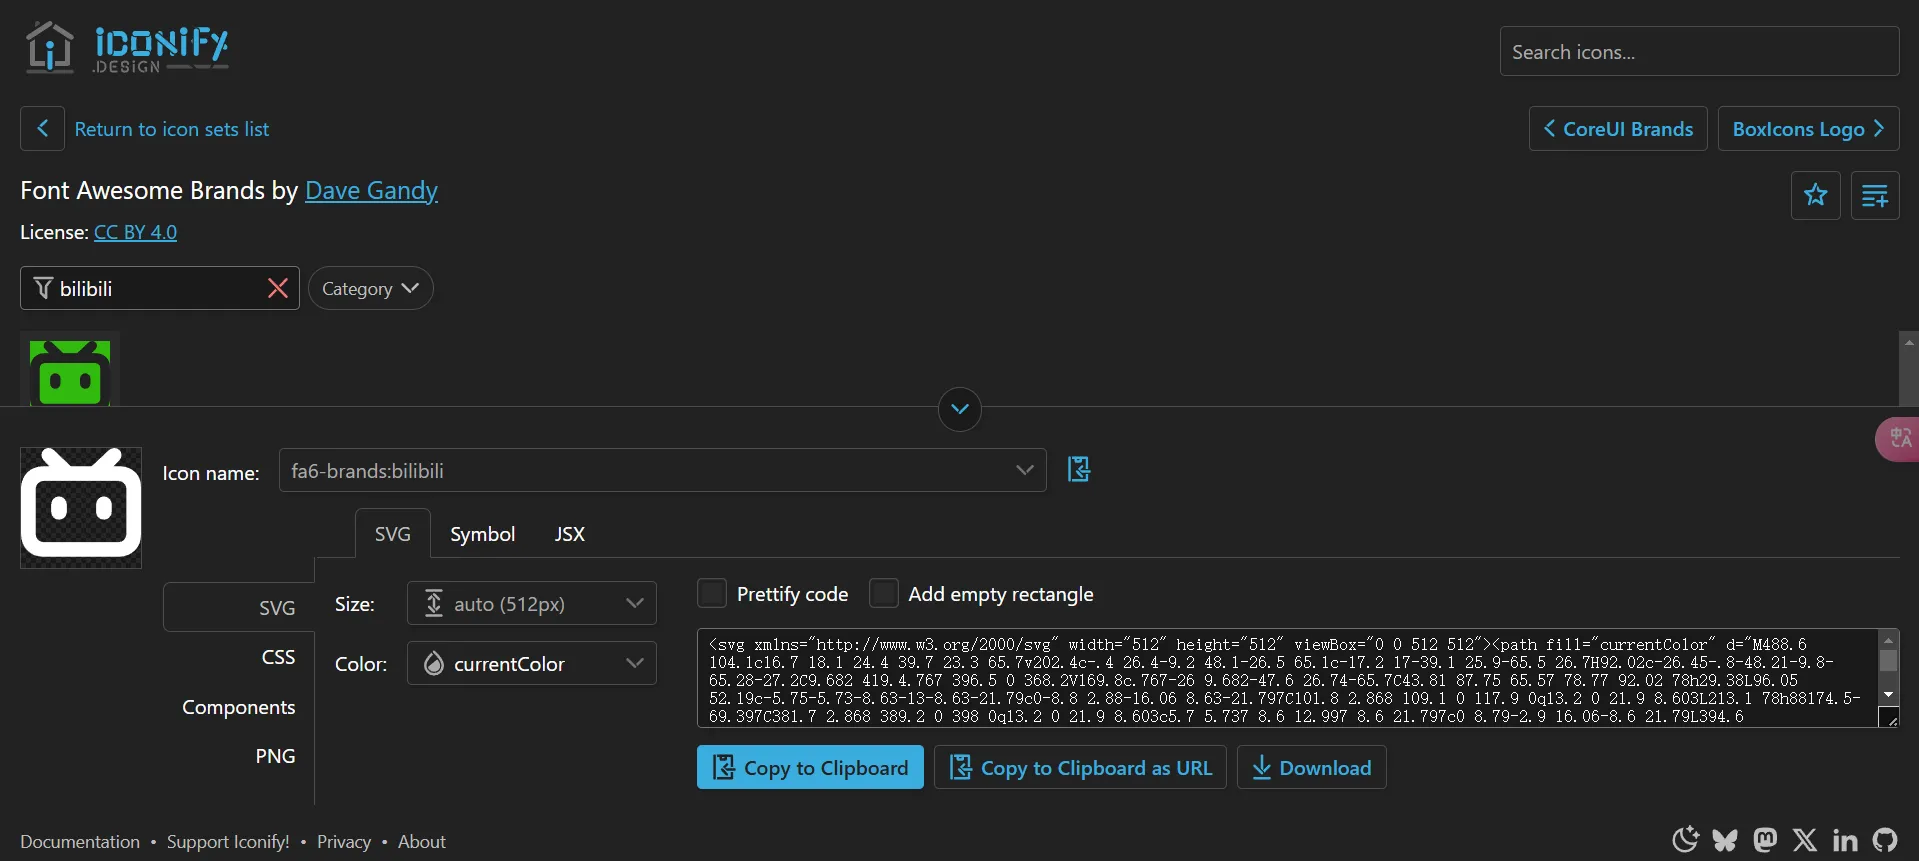
提示:图标库已通过 @iconify-json/fa6-brands 预装,你可以直接使用,无需额外安装。
这里附上我的配置文件,供大家参考:
import type { LicenseConfig, NavBarConfig, ProfileConfig, SiteConfig,} from './types/config'import { LinkPreset } from './types/config'
export const siteConfig: SiteConfig = { title: '陌灬离的博客', subtitle: '心之所向', lang: 'zh_CN', // 'en', 'zh_CN', 'zh_TW', 'ja', 'ko', 'es', 'th' themeColor: { hue: 112, // Default hue for the theme color, from 0 to 360. e.g. red: 0, teal: 200, cyan: 250, pink: 345 fixed: false, // Hide the theme color picker for visitors }, banner: { enable: true, src: 'assets/images/demo-banner.png', // Relative to the /src directory. Relative to the /public directory if it starts with '/' position: 'center', // Equivalent to object-position, only supports 'top', 'center', 'bottom'. 'center' by default credit: { enable: false, // Display the credit text of the banner image text: '', // Credit text to be displayed url: '' // (Optional) URL link to the original artwork or artist's page } }, toc: { enable: true, // Display the table of contents on the right side of the post depth: 2 // Maximum heading depth to show in the table, from 1 to 3 }, favicon: [ // Leave this array empty to use the default favicon // { // src: '/favicon/icon.png', // Path of the favicon, relative to the /public directory // theme: 'light', // (Optional) Either 'light' or 'dark', set only if you have different favicons for light and dark mode // sizes: '32x32', // (Optional) Size of the favicon, set only if you have favicons of different sizes // } ]}
export const navBarConfig: NavBarConfig = { links: [ LinkPreset.Home, LinkPreset.Archive, LinkPreset.About, { name: 'GitHub', url: 'https://github.com/saicaca/fuwari', // Internal links should not include the base path, as it is automatically added external: true, // Show an external link icon and will open in a new tab }, ],}
export const profileConfig: ProfileConfig = { avatar: 'assets/images/avatar.jpg', // Relative to the /src directory. Relative to the /public directory if it starts with '/' name: '陌灬离', bio: 'A long way to go./还差的远!', links: [ { name: 'Twitter', icon: 'fa6-brands:twitter', // Visit https://icones.js.org/ for icon codes // You will need to install the corresponding icon set if it's not already included // `pnpm add @iconify-json/<icon-set-name>` url: 'https://twitter.com', }, { name: 'Steam', icon: 'fa6-brands:steam', url: 'https://store.steampowered.com', }, { name: 'GitHub', icon: 'fa6-brands:github', url: 'https://github.com/moli721', }, { name: 'Bilibili', icon: 'fa6-brands:bilibili', url: 'https://space.bilibili.com/1920382429?spm_id_from=333.1007.0.0', }, ],}
export const licenseConfig: LicenseConfig = { enable: true, name: 'CC BY-NC-SA 4.0', url: 'https://creativecommons.org/licenses/by-nc-sa/4.0/',}博客内容管理:开始创作你的第一篇文章
创建新文章
- 打开终端,在项目根目录下执行以下命令来创建新文章:
执行后,系统会在
Terminal window pnpm new-post "你的文章标题"src/content/posts目录下自动生成一个新的.md文件。
文章配置说明
当你用 YankNote 打开新创建的文章,会看到文件头部有这样一段配置信息:
title: xxxpublished: 2024-10-14description: ''image: ''tags: []category: ''draft: falselang: ''让我们来了解每个字段的含义:
title:文章标题published:发布日期description:文章简介,会显示在文章列表中image:文章封面图片- 如果使用本地图片,需要以
./开头 - 例如:
./assets/images/cover.webp
- 如果使用本地图片,需要以
tags:文章标签,可以添加多个- 例如:
['教程', '博客', 'Fuwari']
- 例如:
category:文章分类draft:是否为草稿(true/false)lang:文章语言(可选)
图片处理神器:YankNote 的使用技巧
很多人会问:“用 Markdown 写作很好,但处理图片是不是很麻烦?” 别担心!YankNote 为我们提供了超简单的图片处理方案。
设置步骤:
-
创建专属工作区
- 点击 YankNote 左下角的设置图标
- 将 posts 文件夹添加为独立仓库
- 设置完成后,可以用
Alt + 数字键快速切换
- 比如我的 Fuwari 博客在第 5 个仓库,按
Alt + 5就能快速切换
-
配置图片存储
- 点击仓库旁边的图片设置
- 将图片存储路径设置为:
./FILES/{docBasename}.assets - 这样做的好处是:
- 所有图片会自动存放在
FILES文件夹下 - 使用相对路径引用图片,方便管理
- 复制粘贴图片时会自动完成存储和引用
- 所有图片会自动存放在
开始写作
现在,你可以:
- 直接使用
Ctrl + V粘贴图片 - 使用标准的 Markdown 语法写作
- 实时预览文章效果
有了这些设置,你就可以像使用普通文本编辑器一样流畅地创作博客文章了!
博客部署
- 注册好vercel账号后进入控制台,点击
New Project
- 点击
Import,选择GitHub,然后选择你的GitHub账号,点击Import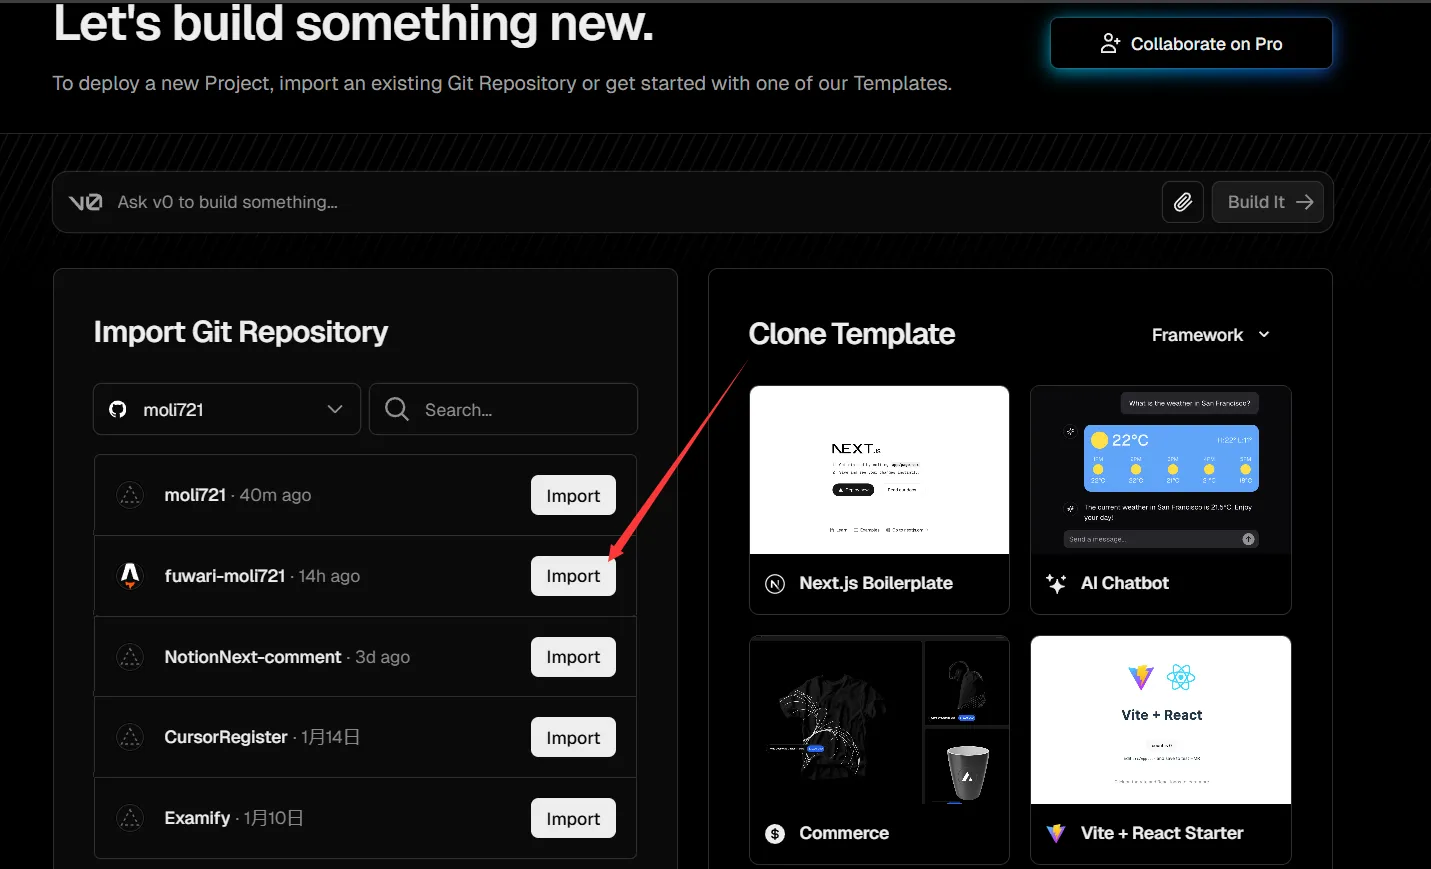
- 选择你的GitHub账号下的
fuwari项目,点击Import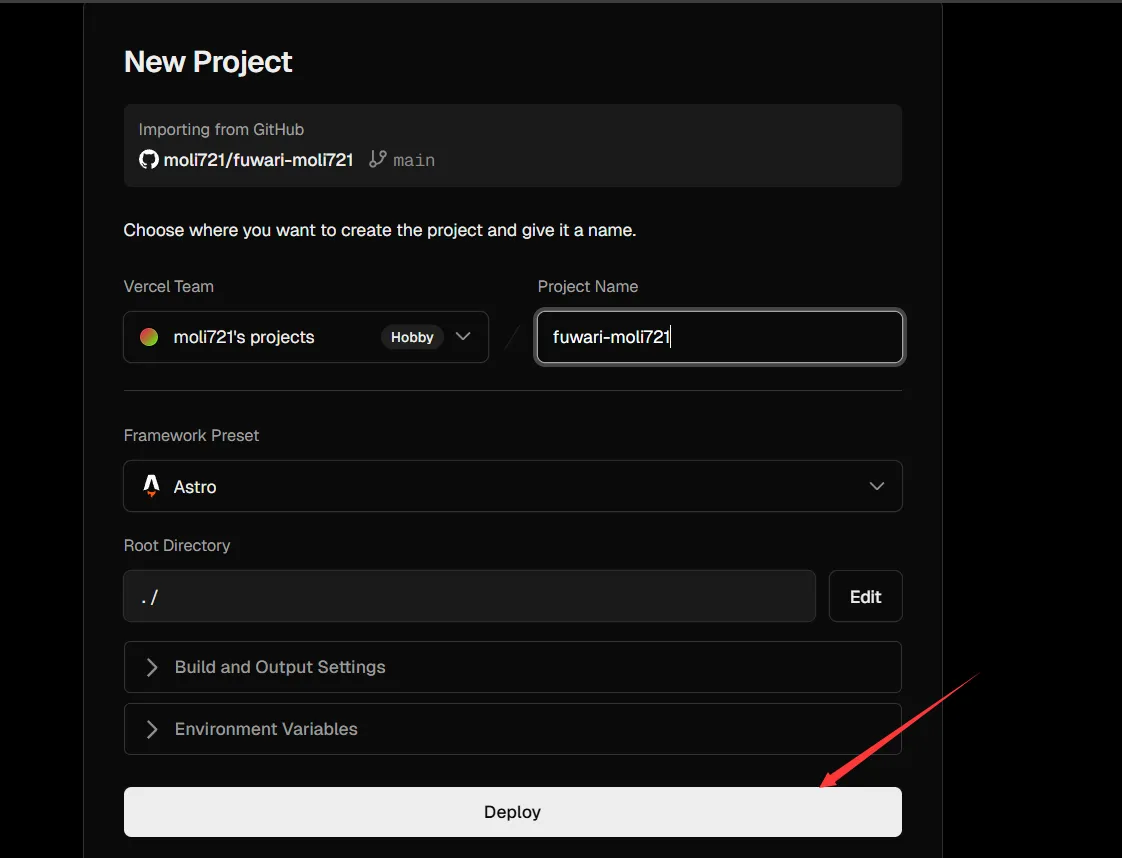
- 点击
Deploy,等待一分钟左右部署完成,部署完成后,点击Visit,就可以访问你的博客了
至此,你的博客就已经部署完成了
随后你只需要在本地编辑好博客内容,然后推送到GitHub(使用git push命令,这里我就不详细介绍了),Vercel就会自动部署你的博客,你就可以在浏览器中访问你的博客了